Polish Concrete Countertop DIY [How to And Cost]
Concrete countertops have the characteristic of completely customizable shapes with handcrafted details.
Different customization techniques allow you to achieve various types of colors, shades, and textures in them. You can even cast special features in your concrete countertop like sinks, cutting boards …
On top of that, they are extremely durable due to the use of fiberglass while casting them. They are a popular alternative for kitchens, washrooms, and outdoor kitchens.
You may also find them most often in restaurants and bars. They offer not only an aesthetic look but are also easy to clean and maintain. Apart from these pros, they certainly have some cons including stain prone, much time is needed for casting, and last the cost.
In this article, we will discuss the polishing aspect of concrete countertops, as it is in evident in any concrete countertop-making job.
Contents
Making a Concrete Countertop
Following steps should be followed while making your countertop:
- First thing is to determine the size of the countertop, which you need. For that, you can measure the base cabinets. You may have to add an extra 3/4″ for the overhang part of the countertop.
- Next is preparing the mold. A well-prepared mold is the key to a great countertop. You may take a 1-inch-thick particle board to make the mold. Usually, particleboard comes in sizes of 4’ x 6’. So, you may have to cut it to get the desired shape of your mold. For that, you may use sawhorses and table saw. You may first like to cut the board into 4’ long strips.
- After cutting the particle board in desired shapes, you can no join various pieces together using wood screws.
- Now if you have some fitting in the mold like a sink, you should prepare a mold specifically for that by measure the dimension of the fitting.
- The next step is to place the mold of fitting in the mold of the countertop.
- To seal off the joints, use 100 percent silicone caulk.Place it in all corners and seams of the mold. The caulk should be given at least 24 hours to dry. Mostly, the drying time of caulk is mentioned on its packaging. It would be useful if you push the caulk with your fingers into the joint to perfectly close the gaps. The caulk will prevent wet concrete from leaking outing from the mold.
- Now you have your mold ready, next is to place the mold on a frame or some tall support. You can make a frame yourself or you can simply use any steel stand. The only key point here is that frame or stand is able to support the mold well. The frame and mold should not be connected together.
- Next is to arrange a galvanized steel wire. This wire would be then used as the reinforcement in the concrete against cracking.
How Long Should Concrete Countertops Cure Before Polishing
Concrete countertops should be cured for at least 10 days before polishing. 10 days must be given because concrete younger than that will be too soft and polishing of it will become very difficult.
How To Polish Concrete Countertops DIY
Concrete countertops require polishing because sometimes while casting the countertop cement paste makes a uniform layer on the surface. To remove this layer polish is required.
What Is Required to Polish Concrete Countertops
Following things are required to polish a concrete countertop:
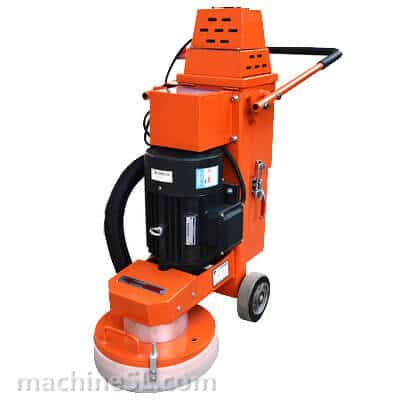
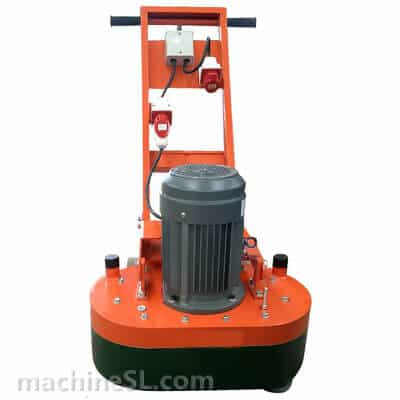
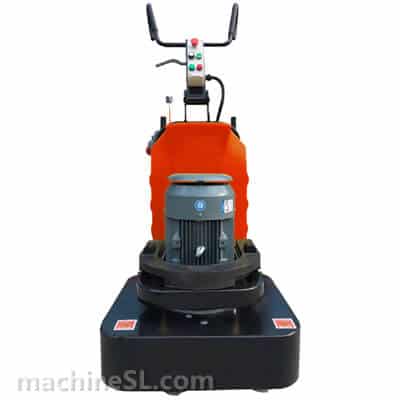
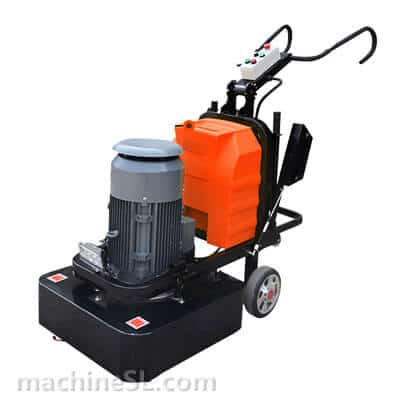
- Wet or Dry Concrete Polisher
- Diamond Hand Polishing Pads
- Wet Polishing System
- Wet/Dry Polishing Pads
- 5″ Rigid Hook and Loop Backer Pad
- 5″ Flexible Hook and Loop Backer Pad
Cast Finish, Light Polish, Ground Finish
The polishing of the concrete countertop follows three stages. The polish ranges from uniform finish to ground finish.
- Uniform Finish: Uniform finishing is the finishing in which the concrete countertop has uniform color due to the thin layer of cement paste that is formed in the inner side.
- Light Polish: It is the stage in which the thin layer of cement paste is removed, and the fine surface is exposed.
- Ground Finish: As the polishing continues the large aggregate in the concrete mix starts to expose.
Types of Polishing Pads
There are three types of pads mostly used for polishing.
- Soft Pads: These are best for beginners. These are usually used with a water-fed concrete polisher.
- Rigid Pads: Rigid pads polish the surface more quickly than soft pads. Polisher must hold them perfectly flat to protect the surface from gouge.
- Wet / Dry Pads: Dry pads are one of the best options. They are safe to use on a high-speed angle grinder.
Wet Polishing Preparation
Preparation includes the following steps:
- First, wear rubber gloves.
- Wear a rubber apron and rubber boots.
- Elevate the piece on scrap 2″ foam.
- Do outdoor polishing in the shade and indoor by using a polishing table.
Initial Polish
- Use the lowest grift pad for the ground finish. Polish the piece until the uniform surface is exposed then move on to the next pad.
- Use a mid-range pad for light polish.
- Use masking tape for masking the area that you do not want to polish.
Matters to Polish Concrete Countertop
Following steps are involved in the polishing:
- The first step is to turn on the water feed.
- After that put the polisher at the surface of the countertop and turn it on.
- Keep the pads of the polisher flat and let the weight of the tool do its work.
- Move it continuously in a circular motion on the surface do not stop on a particular part for a long time.
- Completely focus on polishing give your best to polish a surface. Do not try to do too much part at once. Do your work smoothly.
- When the surface is polished completely and uniformly then move on to the next pad.
Fill Holes with Slurry
The next step is to fill the holes that are present with slurry so that there is no hole present in the concrete countertop. Let the slurry filled in the holes to dry for one day. After day continue polishing
Final Polish
The final step includes the removal of slurry by polishing with higher grift pads. After this, the final thing is sealing the piece of concrete so that the polished look can be preserved.
Precautions To Adopt While Polishing
Polishing of concrete counter is not as such dangerous thing but the mixing of water and electricity can produce current.
To protect the polisher from the current polisher must wear rubber gloves so that he can insulate himself. Wearing a plastic mask while grinding is safe because grinding can produce concrete dust that can be dangerous.
Cost (Concrete Countertops vs Granite)
Granite countertops are made up of natural stone. They have great heat resistance ability.
The countertops made up of granite require less repair time. These slabs are a little bit expensive. A standard granite slab has a price range of $40 to $75 per square foot. Sometimes in the case of some special slabs, it can cost $500 per square foot.
Installation of these slabs requires $330-$500. The cutting and finishing process requires about $10. Hence for a countertop of 30 square feet, the price range will exist between $3,000 to $3,500.
A concrete countertop is one of the best options. Using concrete for the countertop is a very less expensive option. Concrete countertops do not scratch and can be made by using recycled material. These countertops are also heat resistant.
A concrete slab has a price range of $65 to $175 per square foot. This price includes the countertop design, materials, construction, and installation. For a countertop of 30 square feet, the price range will exist between $2,220 to $2,410. This price includes the labor cost and the cost of additional supplies that can cost up to $80.
Concrete countertops are difficult to fix and require a long time for installation. Hence their making and installation are time taking.
Conclusion
To conclude, this article was all about concrete counter tops: how to make them and polish concrete countertop. A comparison on the cost with granite countertops is also drawn.






Leave A Comment